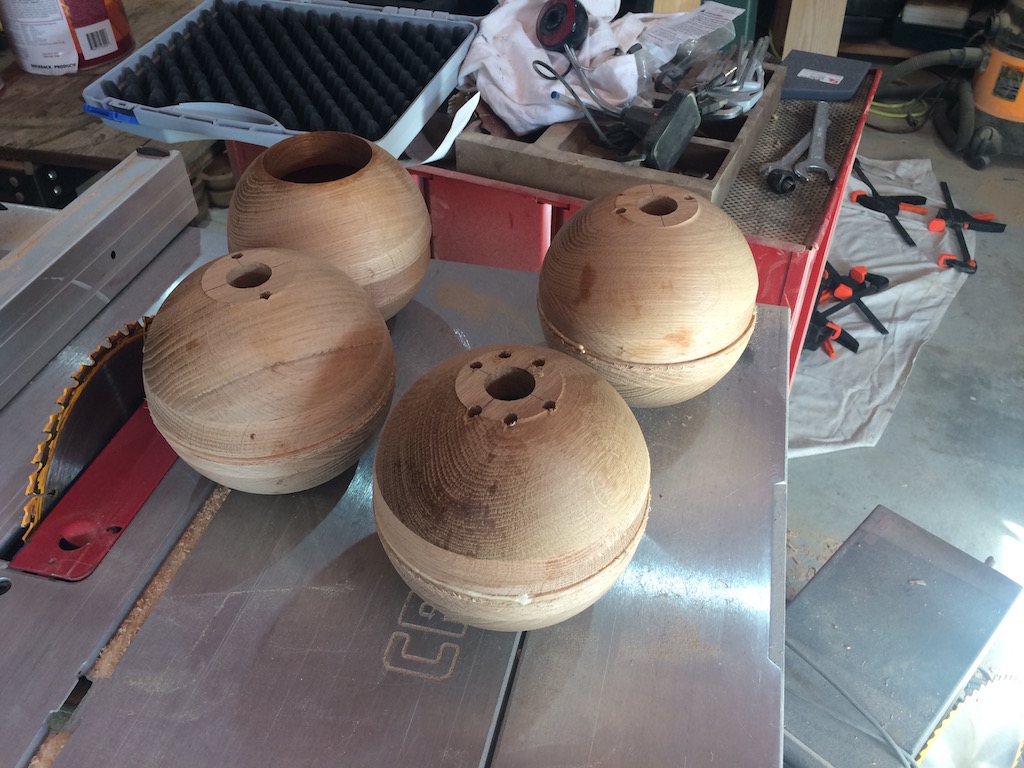
A brief overview of the globe production process.


Chapter One: Globes

Stacks Image 26
The first thing you do is buy yourself a new mill. I can't overemphasize how important this step is, and in any case the globes really were too big for my old one. Of special note is the band-aid on the front left corner where I wounded the poor thing getting it out of its packing crate.
Stacks Image 29
Next up, wood. The hemispheres are about 3 inches high but it's hard to get wood that's thicker than 2 inches, so each hemisphere is cut from two pieces of wood glued together.
Stacks Image 32
Did I say wood? I meant a lot of wood. 12 globes means twenty four hemispheres.
Stacks Image 35
Cutting the outside of a hemisphere. There are two passes, first a rough one that digs out all of the wood and then a second to smooth down the sides. Guess which one this is?
Stacks Image 38
After the outside is done we flip over the piece and do the inside of the hemisphere. This was taken halfway through the smoothing pass.
Stacks Image 41
Do this long enough and you end up with a bunch of hemispheres.
Stacks Image 44
Did I say a bunch of hemispheres? I meant a lot of hemispheres.
Stacks Image 47
After that it just takes some glue. Three of these are right side up by the way. The one furthest back is upside down.


Chapter 2: How To Make A Butterfly

Stacks Image 87
Now back to the computer (we did this for the globes too, but circles are boring so we skipped talking about it).

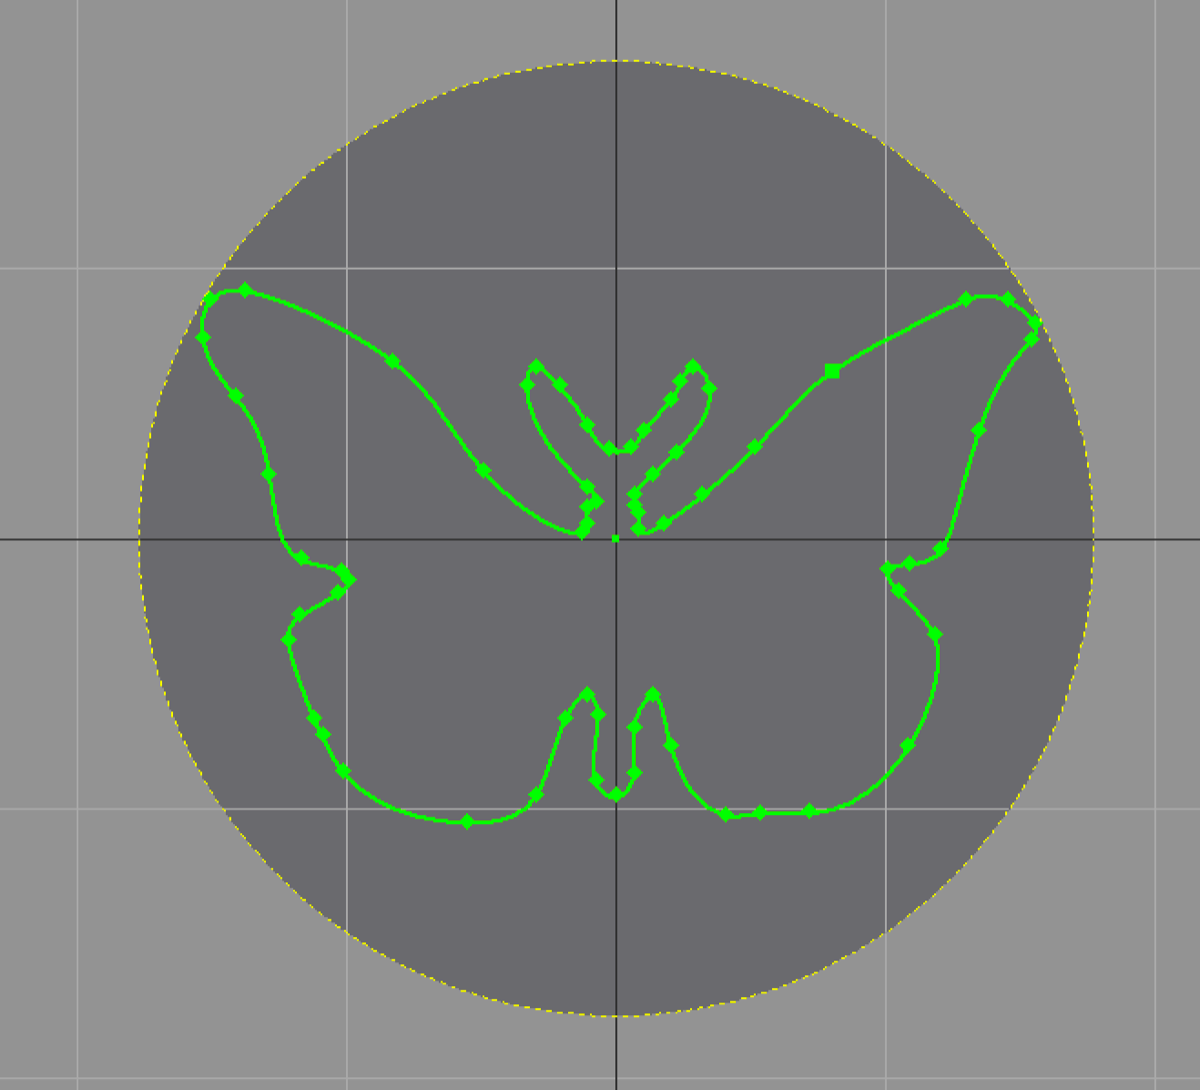
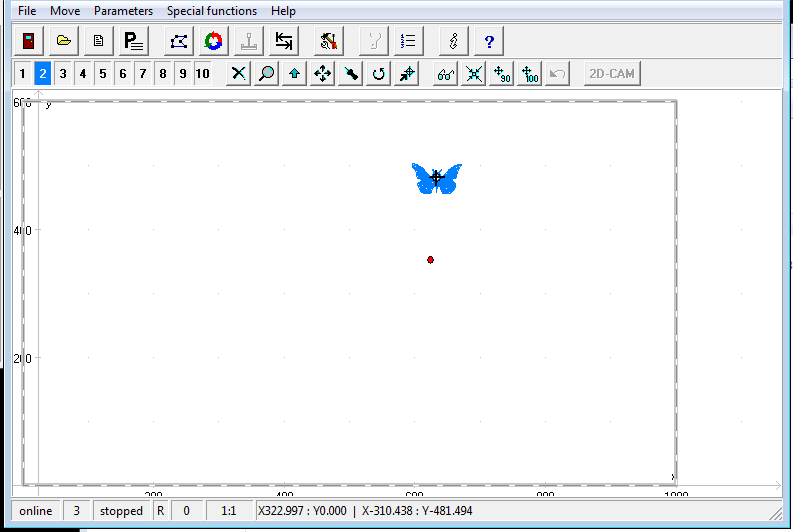
Draw or trace yourself a butterfly.

Stacks Image 84
Have your drafting software remove the butterfly shape from a solid. I'm using a red cylinder here but it could have been anything.

Stacks Image 81
Now switch over to your machining software, tell it what size your cutter is and have it suggest a path for the tool to follow.

Stacks Image 78
Remember it's three dimensions. This is what the path looks like from the side. It's really just the same two dimensional path being cut over and over again with a slight drop in height every time.

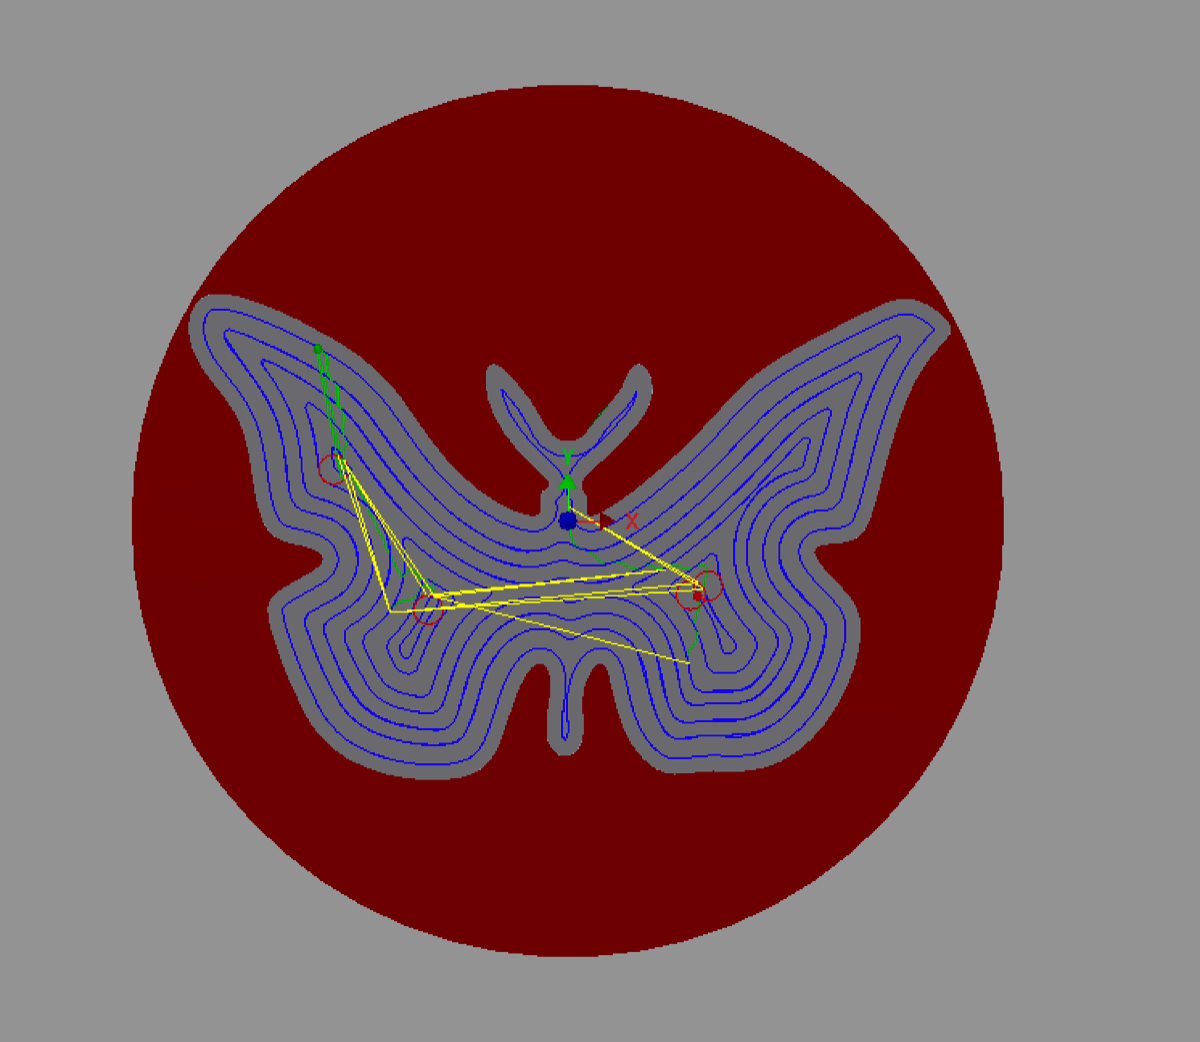
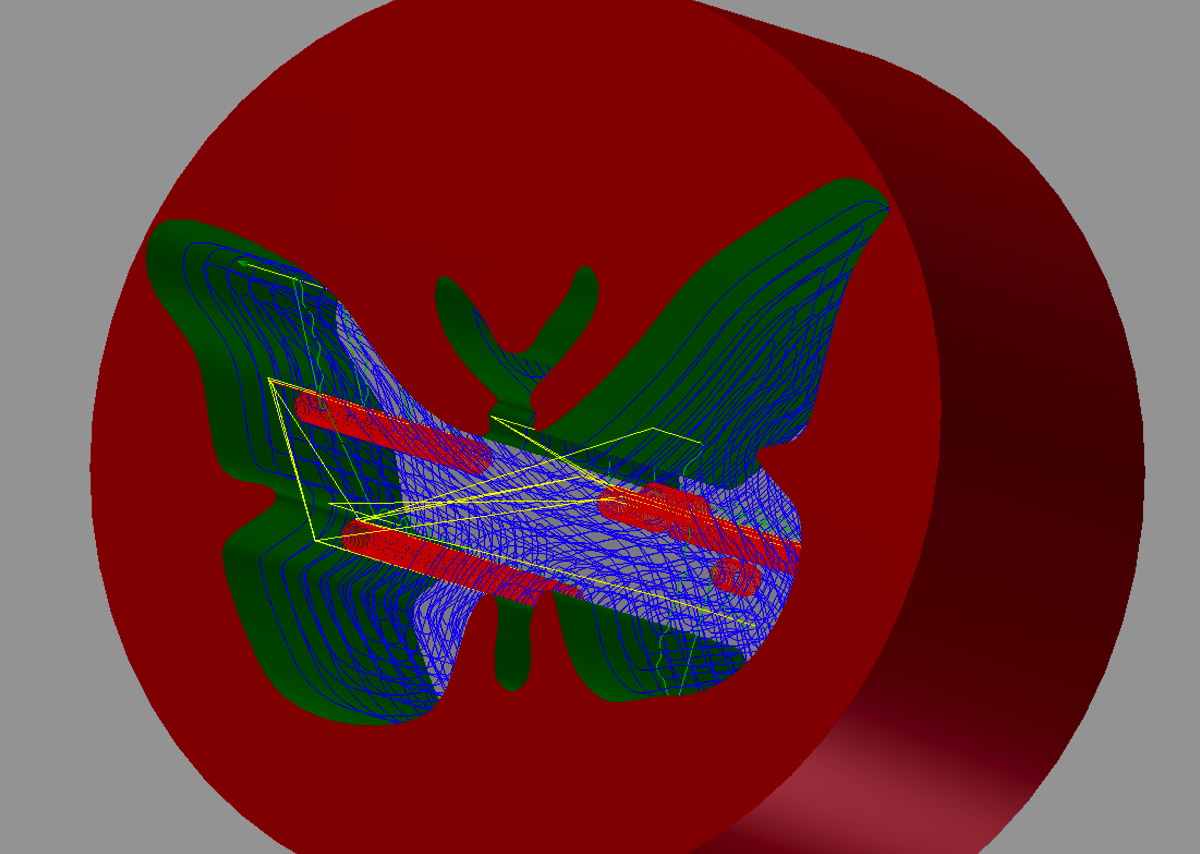
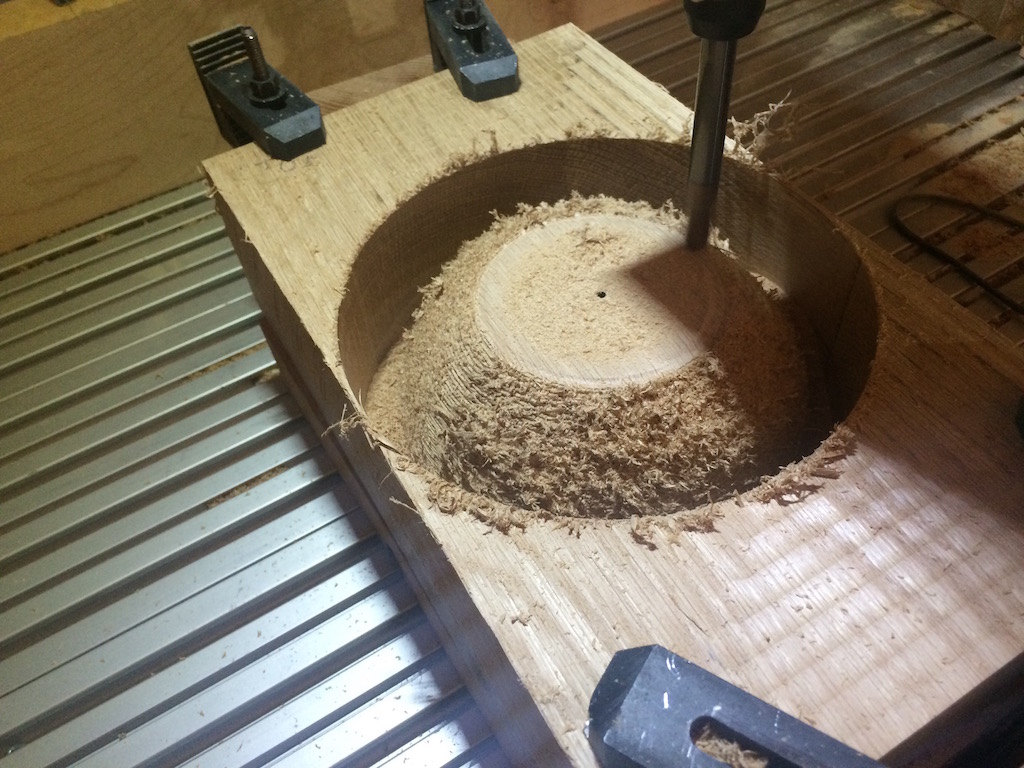
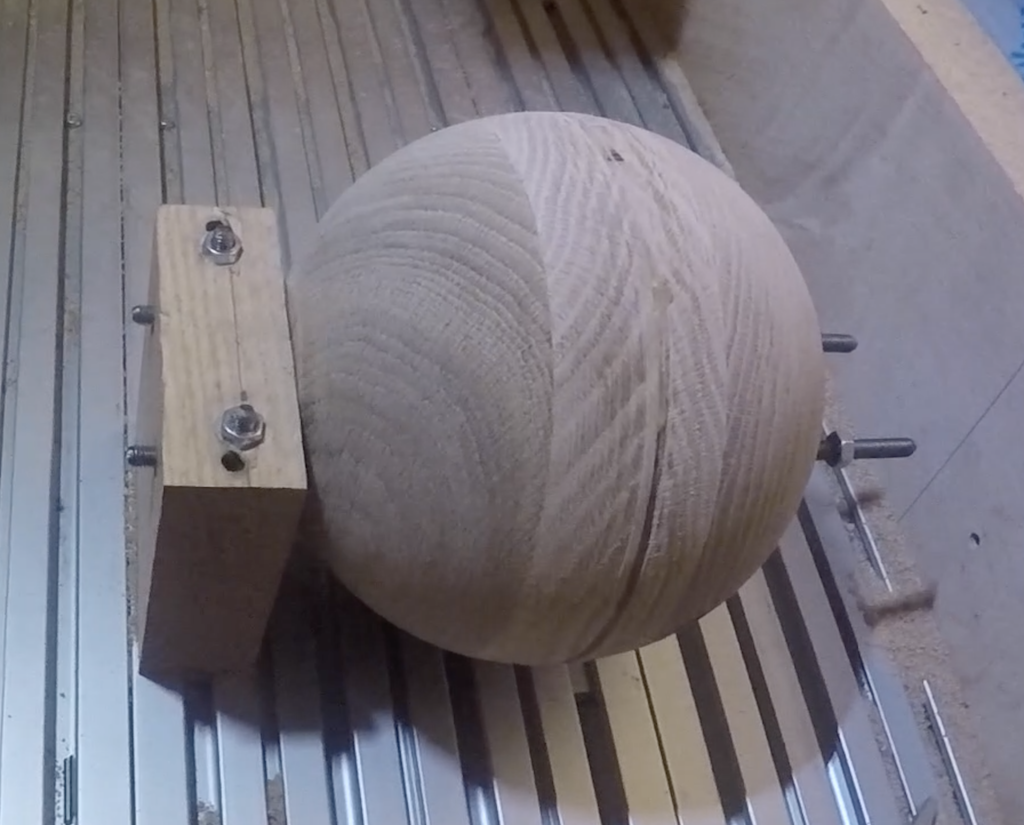
[A quick diversion for my math loving friends. The cylinder has a radius of 45mm and we can treat the wings as if they touch the edges. The globes have a 75mm total radius with a shell thickness of 20mm. Cutting from the globe surface, how deep does the cylinder need to be to make sure that the entire butterfly cuts through to the inside of a globe? Extra credit — it we take out the whole cylinder what is the total amount of material removed by the cut?]

Stacks Image 75
This is G-code, a simple language that has been controlling shop machinery since the 1950s. Things get interesting on line N1985, where the mill is commanded to go to the coordinate (1.662, -0.912, 1). There follow roughly 5,000 commands drawing out the X,Y coordinates of one layer of the tool path we saw earlier. Then there's a command that goes to (1.662, -0.912, 2) and another 5,000 commands. Then 3, then 4, etc., cutting a little deeper each time.

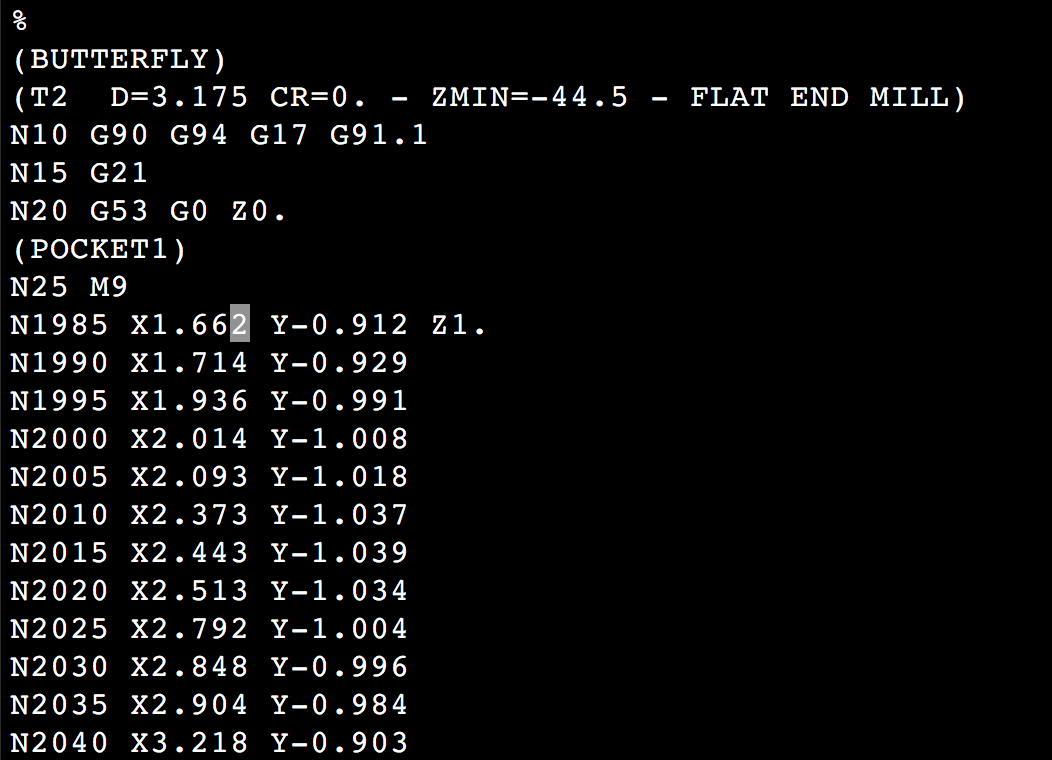
G-code is what is generated by the drafting software and read by the machine controller.

Stacks Image 72
This is the machine controller software. The butterfly is so small because it is shown in relation to the total mill table size. If all goes well, just hit play. If you can't find the play button it's because the software was written by Germans and none of the help text was translated into English.

Stacks Image 69
Back in the real world we've mounted one of our globes on the milling table. The measurements here are all fairly tight as you want zero vibration of the piece while the mill is at work.

Stacks Image 66
We position the end mill to begin the cut.

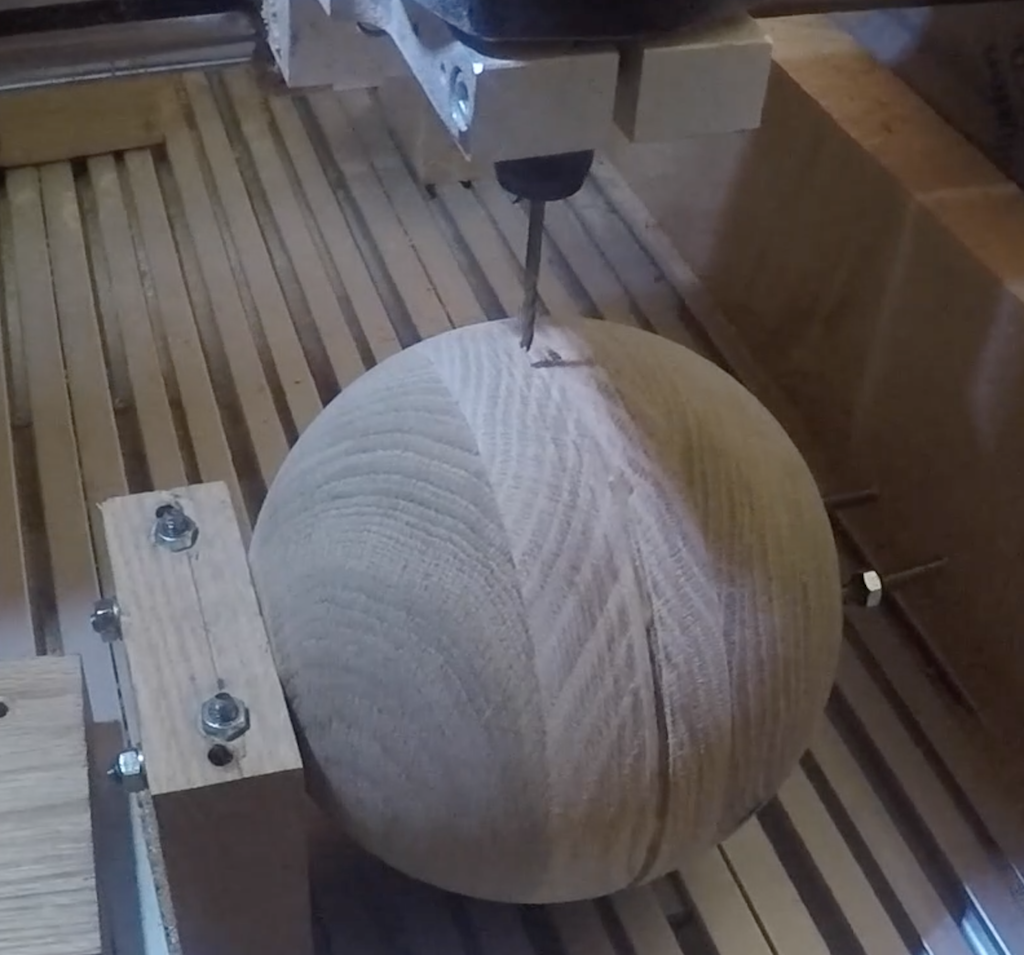
End mills look a lot like drill bits except that they don't have pointy ends. They are meant to cut from side to side rather than up and down.

Stacks Image 63
Remember we're cutting two dimensional slices here, so the highest part of the globe gets trimmed first.

Stacks Image 54
Inexorably, however, we cut deeper.

Stacks Image 60
And deeper…

Stacks Image 90
Voila! It was not a cocoon but it contained a butterfly.